This craft came from an inspiration that I've seen floating around all over Pinterest, and I'm honestly not sure what the original is, but the one I've seen the most is from the Lakeland Local.
Confession: when I first saw this scarf, I was really NOT a fan. It just seemed kinda blah, especially compared to some other DIY infinity scarves I've seen. BUT THEN I had this idea. I was weighing my options for this patriotic craft swap, and I had an idea to take this scarf and make it special.
Here's what I used:
--Little boys XL t-shirts
--Scissors
--Red and blue fabric dye
--Bleach (not shown)
--Spray bottle (not shown)
--Water (not shown)
--Tupperware (not shown)
--Plastic Sheeting (not shown)
--Popsicle Stick (not shown)
--3 Rubber bands (not shown)
(wow I did a bad job at including things in that picture!)
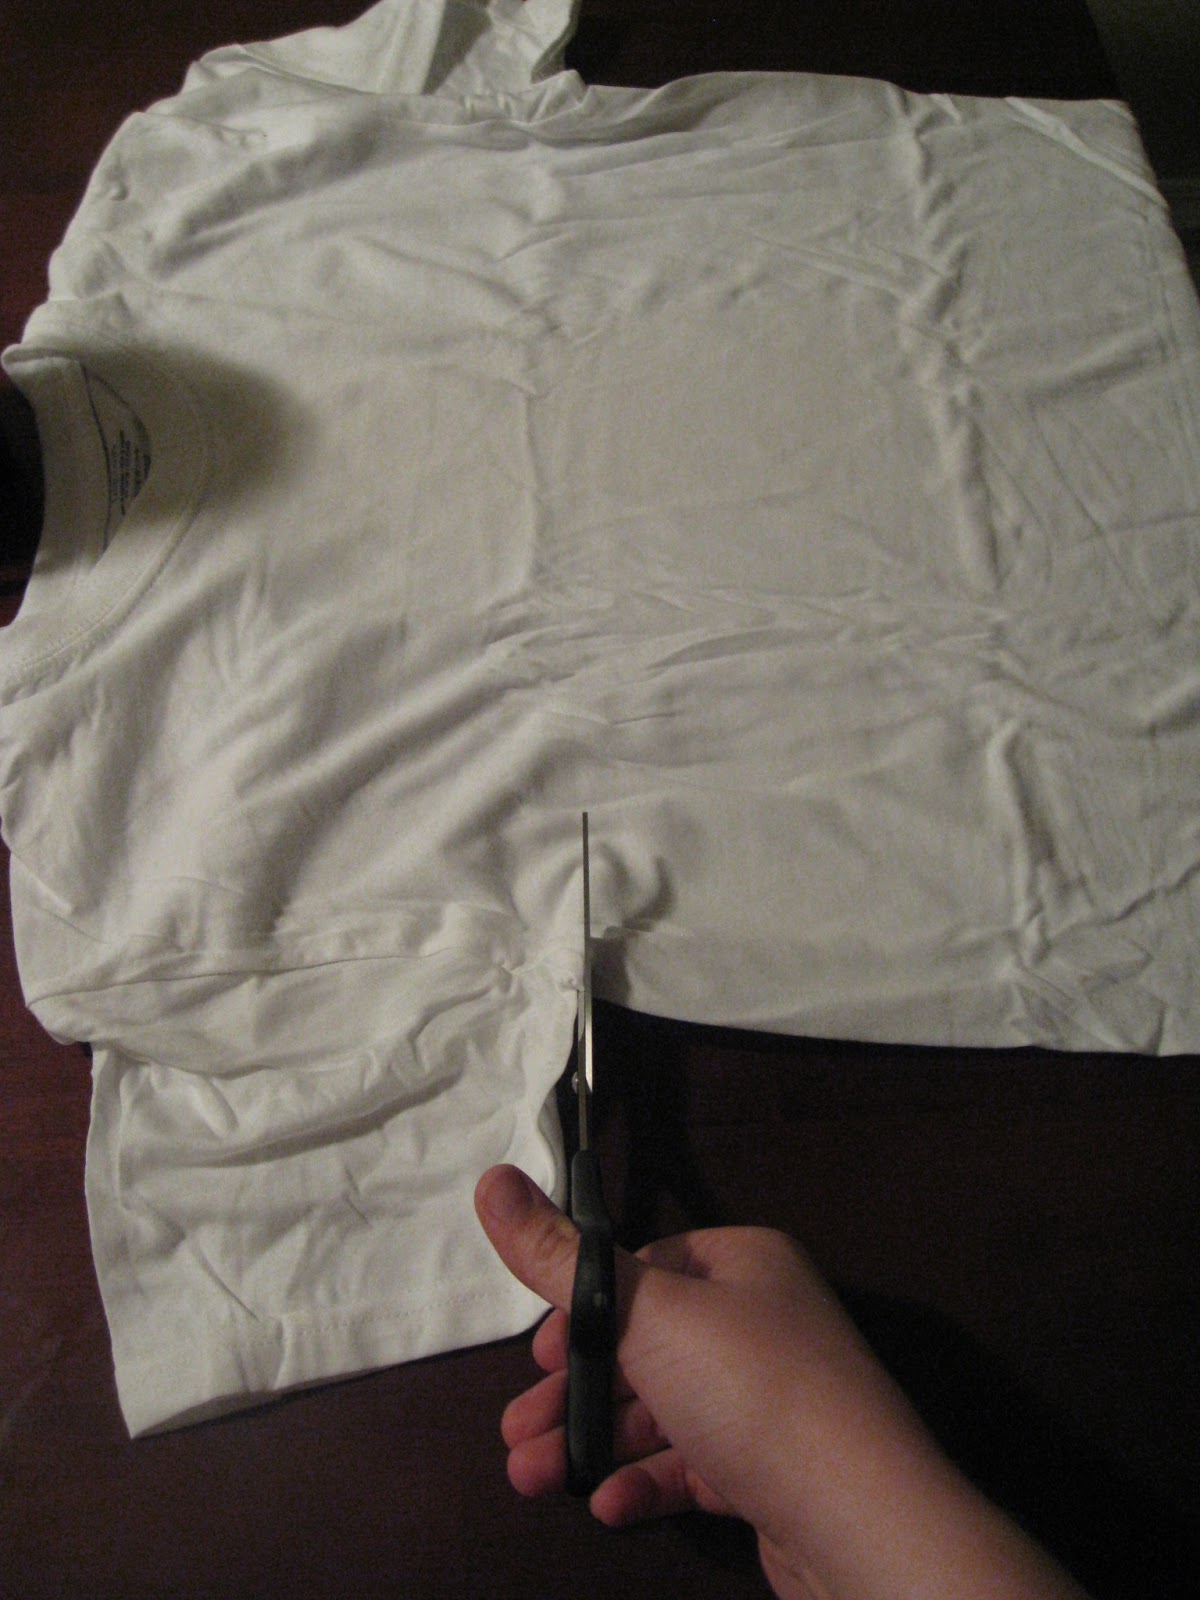
So to start, you want to cut off the top part of the t-shirt. Right under the sleeves should do the trick!
Then mix up your blue die. I didn't have a bucket or anything so I used an old tupperware container. I filled it with 4 cups of hot water and about 1/4 the packet of dye (since they say the entire packet makes a gallon). I mixed mine up with popsicle stick simply because I'm not sure if my silverware is stainless steel. But if you have stainless steel, that would work, or so would a plastic utensil. Then I dipped the bottom of the shirt into the dye and used the popsicle stick to get it to stay in there. I specifically used the bottom because I wanted to blue part to have a finished edge.
Just let the shirt soak in the dye for a little while. It will start to travel up the cloth some, and you won't have a perfect line but it's okay. I got a three-pack of shirts so I decided to give them all this treatment so I have one scarf for the craft swap, one for me, and one to give to....well....someone. I haven't figured out who yet. :)
After they sit for a while (mine were in there for at least an hour), take them out of the dye. Typically for tie dye, you can through your project in a bag for 24-48 hours to let the color take. I didn't want to do that here because I don't want blue getting on the bottom. So I just decided to lay them out on that plastic sheeting and wait for a couple of days.
Before they got completely dry, I went ahead and did the bleaching part of the project. I poured some bleach into a spray bottle and set to work on lightly spritzing the blue portions of the shirts.
Once the dye and bleach were both completely dry, I rinsed it all out, and look what we've got so far! They don't exactly look like stars, but I like the abstract effect!
The next step is to cut the fringe. I didn't have a set width I was going for...just no more than an inch. Some were thicker than others, but I'm okay with that! My one requirement was that I have an even number of fringe so I cut through the front and back at the same time.
Once the fringe is all cut, I stretched it out a bit to separate the strips and give them a little more length. You'll see again why I wanted the hem at the blue side so it wouldn't interfere with this part of the look.
Now came the part I was most worried about...dying the fringe. Why am I worried? Because I'm only dying every other piece. Hrm... So I grabbed every other fringe and brought it up through the inside of the shirt.
I used a rubber band around the middle of the blue part just to hold the fringe in place. Then I took another rubber band and wrapped it just at the base of the blue.

I also bunched up the remaining strips and wrapped a rubber band around them to give a little more texture to those pieces.
For the red dye, I repeated what I did with the blue dye but with smaller portions. I only did about 2 cups of hot water and about 1/8 of the packet of red dye and then I mixed it up.
I stuck the dangling fringe into the dye and held them there. I was afraid to let them sit because I didn't want too much dye to travel up! So I sat there for a little while, holding the shirt with my left hand and editing pictures with my right (might as well be productive, right?).
Once that was done, I took them out of the dye and let them rest with the rubber bands still on.
I took them off a couple of days later once everything seemed nice and dry, and then I ran them through the wash to make sure all the dye was off. Once they were nice and clean and finished, this is what I found.
Here's what it looks like on.
I love it and I hope you do to! Any suggestions of ways you could do this for other seasonal/themed scarves? Let me know!
Love y'all!
-Kittye


No comments:
Post a Comment